Easy Goat Cheese Stuffed Mini Peppers for Appetizers
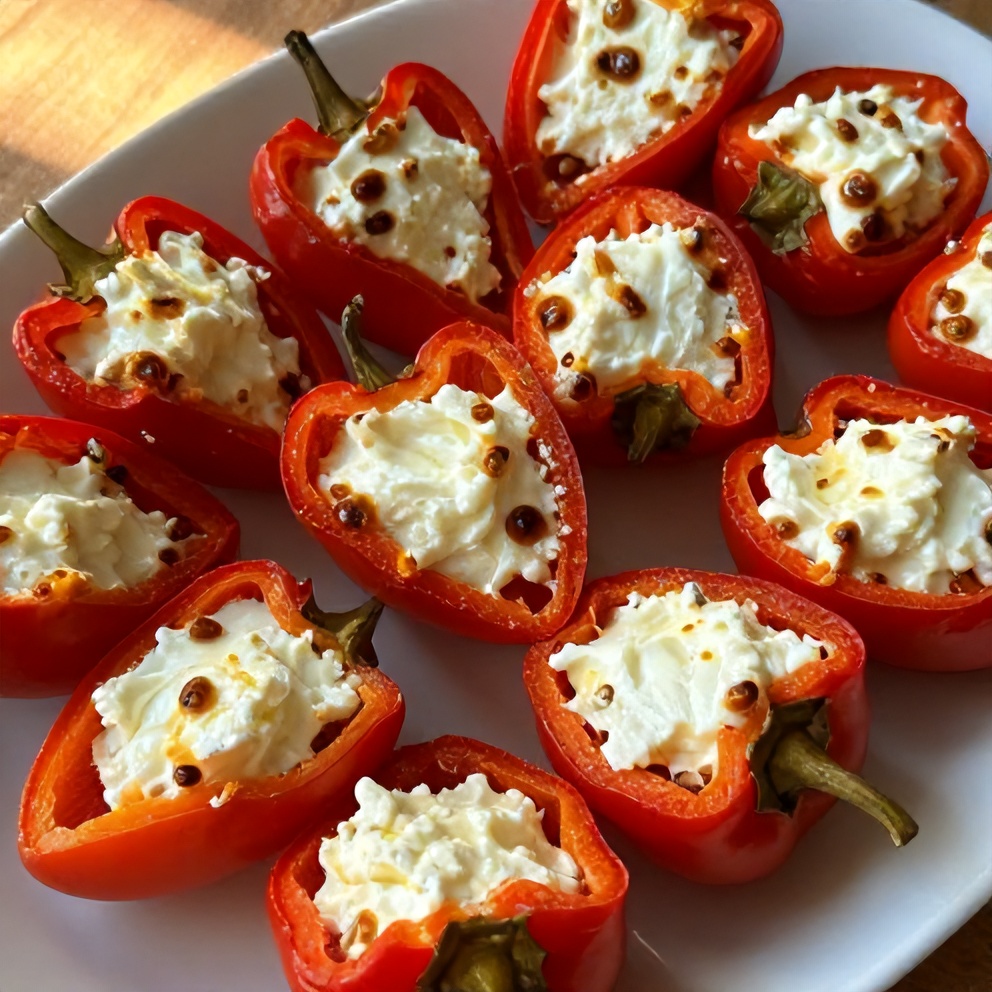
These goat cheese stuffed mini peppers are the ultimate crispy, bite-sized appetizer. After making them dozens of times, I’ve discovered the trick to perfectly crispy peppers every time. The melty goat cheese and fresh parsley make these mini peppers irresistible. Try them with my Slow Cooker Chicken Curry Recipe with Coconut Milk for a complete meal. If you love recipes like this, you’ll also enjoy Slow Cooker Chicken Curry Recipe with Coconut Milk and Cinnamon Sugar Churro Pancakes for Easy Weekend Brunch.
Why This Easy Goat Cheese Stuffed Mini Peppers for Appetizers Is Pure Comfort
- Crispy exterior with a creamy goat cheese filling
- Easy to make and perfect for entertaining
- Better than takeout and customizable with your favorite add-ins
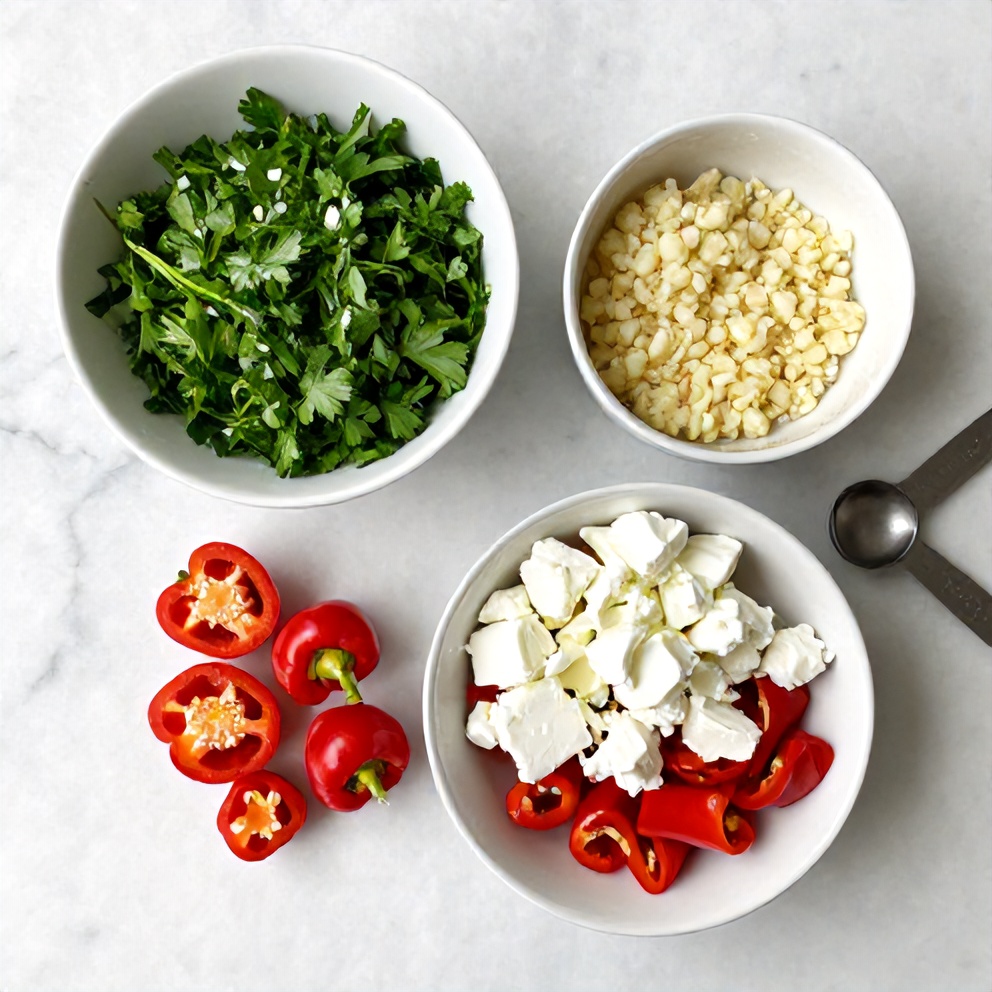
What You'll Need for Easy Goat Cheese Stuffed Mini Peppers for Appetizers
Choosing the right ingredients makes a big difference, but this recipe is forgiving enough to work with what you have.
- 15 mini bell peppers
- 8 oz goat cheese
- 1/4 cup chopped fresh parsley
- 2 cloves garlic, minced
- Salt and pepper, to taste
- 1/4 teaspoon red pepper flakes (optional)
- Optional: Balsamic glaze, for drizzling
- Optional: Crushed red pepper flakes, for garnish
📝 Ingredient Notes
- Mini bell peppers: Any color will work, but red and yellow are prettiest.
🛒 Tools & Equipment I Recommend
- Food processor — Makes quick work of mincing garlic and herbs → See on Amazon
- Baking sheet — Ensures even cooking and easy cleanup → See on Amazon
How to Make Easy Goat Cheese Stuffed Mini Peppers for Appetizers
- Prepare peppers: Cut peppers in half lengthwise, remove seeds, and rinse.
- Mix filling: In a bowl, combine goat cheese, garlic, parsley, salt, pepper, and red pepper flakes (if using). Mix well.
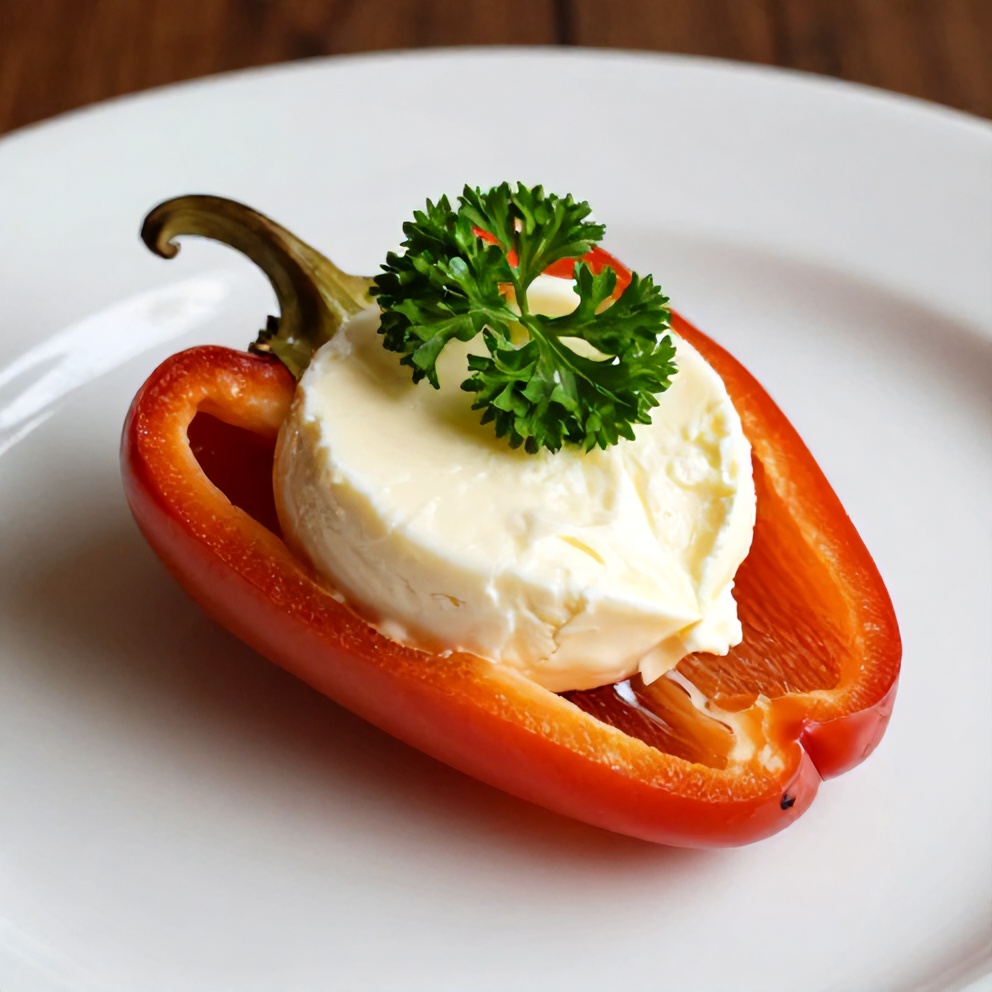
- Stuff peppers: Stuff each pepper half with the goat cheese mixture, pressing gently to seal.
- Bake: Preheat oven to 400°F (200°C). Place stuffed peppers on a baking sheet and bake for 15-20 minutes, until peppers are tender and cheese is melted and golden.
- Serve: Drizzle with balsamic glaze, garnish with crushed red pepper flakes, and serve immediately.
Cook's Tips for Perfect Easy Goat Cheese Stuffed Mini Peppers for Appetizers
- Common mistake and fix: Don't overstuff the peppers. They can become too soggy and won't crisp up properly.
- Pro tip: For a spicy kick, add diced jalapeño to the goat cheese mixture.
- Pro tip: Make these ahead and reheat in the oven for 5-10 minutes before serving.
Storing & Reheating Easy Goat Cheese Stuffed Mini Peppers for Appetizers
Short-Term Storage
Store in an airtight container in the fridge. Store leftovers in an airtight container in the fridge for up to 3 days. Make-ahead tip: Can be stuffed and refrigerated up to 1 day ahead.
Freezing Easy Goat Cheese Stuffed Mini Peppers for Appetizers
Not recommended for freezing.
How to Reheat Without Drying It Out
Oven: Reheat in the oven at 350°F (180°C) for 5-10 minutes. Microwave: Not recommended for reheating in the microwave.
Recipe Notes
- Chef tip: For a vegetarian version, omit the garlic or replace with chopped fresh chives.
- Best substitution: Cream cheese can be used as a substitute for goat cheese.
- Make-ahead: See storage notes above.
- Scaling: This recipe can be easily doubled or tripled for larger crowds.
- Troubleshooting: If peppers are not crisping up, try increasing the oven temperature to 425°F (220°C) and baking for a shorter time.
Want to level up this recipe?
Pepper mill — Freshly ground black pepper enhances the flavors of the peppers and cheese → Check price on Amazon
Easy Goat Cheese Stuffed Mini Peppers for Appetizers
Ingredients
Main Ingredients
- 15 mini bell peppers
- 8 oz goat cheese
- 1/4 cup chopped fresh parsley
- 2 cloves garlic, minced
Seasonings
- Salt and pepper, to taste
- 1/4 teaspoon red pepper flakes (optional)
Optional Toppings
- Balsamic glaze, for drizzling
- Crushed red pepper flakes, for garnish
Instructions
- Prepare peppers: Cut peppers in half lengthwise, remove seeds, and rinse.
- Mix filling: In a bowl, combine goat cheese, garlic, parsley, salt, pepper, and red pepper flakes (if using). Mix well.
- Stuff peppers: Stuff each pepper half with the goat cheese mixture, pressing gently to seal.
- Bake: Preheat oven to 400°F (200°C). Place stuffed peppers on a baking sheet and bake for 15-20 minutes, until peppers are tender and cheese is melted and golden.
- Serve: Drizzle with balsamic glaze, garnish with crushed red pepper flakes, and serve immediately.
Notes
- Chef tip: For a vegetarian version, omit the garlic or replace with chopped fresh chives.
- Best substitution: Cream cheese can be used as a substitute for goat cheese.
- Make-ahead: See storage notes above.
- Scaling: This recipe can be easily doubled or tripled for larger crowds.
- Troubleshooting: If peppers are not crisping up, try increasing the oven temperature to 425°F (220°C) and baking for a shorter time.
Storage
- Fridge: Store leftovers in an airtight container in the fridge for up to 3 days.
- Freezer: Not recommended for freezing.
- Oven reheat: Reheat in the oven at 350°F (180°C) for 5-10 minutes.
- Microwave reheat: Not recommended for reheating in the microwave.
- Make ahead: Can be stuffed and refrigerated up to 1 day ahead.
Nutrition Per Serving
- Calories: 35
- Protein: 2g
- Fat: 2.5g
- Carbs: 2g
- Fiber: 0g
- Sugar: 1g
- Sodium: 60mg
- Cholesterol: 5mg
- Sat. Fat: 1.5g
Nutritional values are estimates only. Actual values may vary by brand and portion size.
Easy Goat Cheese Stuffed Mini Peppers for Appetizers FAQs
Yes, see storage notes above for make-ahead instructions.
You may have overstuffed them or not baked them long enough. Try baking at a higher temperature for less time.
No, frozen peppers will release too much water and become soggy when baked.
Try serving these with my Cinnamon Sugar Churro Pancakes for a fun appetizer and breakfast combo.
Yes, just adjust cooking time accordingly. Regular-sized peppers may take 25-30 minutes to bake.
A Warm Final Note
I can’t wait for you to try Easy Goat Cheese Stuffed Mini Peppers for Appetizers and see how effortlessly it comes together. When you make it, pop back here and leave a rating or share how it turned out — I love hearing from you!